
(versión en Español)
As I feel too lazy to do a proper post (weather it's too hot in Spain at this time of the year), I will revamp an earlier one I did on WIP about riveting techniques. Hope you like it :)
As I feel too lazy to do a proper post (weather it's too hot in Spain at this time of the year), I will revamp an earlier one I did on WIP about riveting techniques. Hope you like it :)
In fact, I have been asked many times how do I produce all those rivets I use on my scratch built models (about 500 hundred for a medium tank).
Having the right tool at hand helps a lot. However, the tools available at stores are pretty expensive (check this excellent tool from Historex Agents):
Historex's Punch and Die set
If we want to produce simple flat, round rivets (there is also one set for hex nuts and bolts, but it is outside of the scope of this tutorial), there is a simple way to build a homemade punch and die set... This is how I made mine:
We will need the following tools:
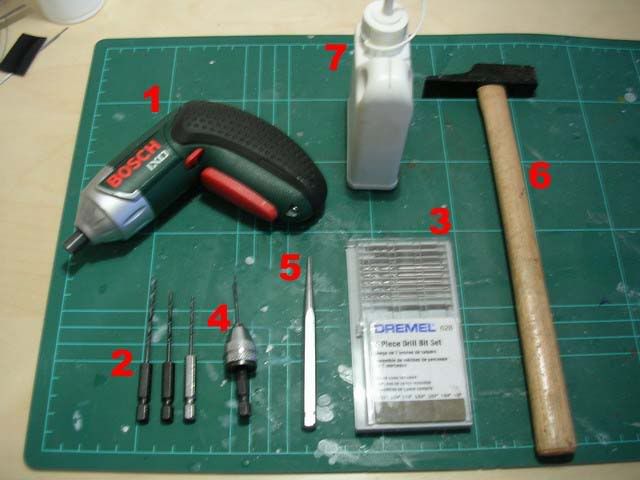
- Low-speed/High-torque drill/screwdriver. You can use a normal drill, but avoid high-speed settings. The one shown here simply excels at making small diameter holes in hard materials.
- Drill bits. One for each rivet diameter desired. Those ones are already prepared for electric screwdrivers.
- For diameters under 1 millimeter, you will need normal bits and:
- Finger chuck for screwdrivers. It is is used to adapt the bits to the screwdriver (you can substitute the screwdriver for another power tool, but I recommend you to use always low rpm's if you don't want to snap bit after bit).
- Center punch. For marking the start of the hole in the metal.
- Hammer (same as above).
- Oil. Used to lubricate bits while drilling metal. Just place some drops from time to time or the bit could get stuck and break.
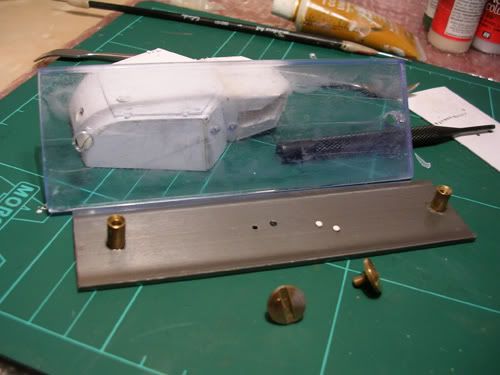 You will need:
- A piece of steel. I bought it at a hardware store.
- A piece of clear plastic of the same size. I obtained it from one discarded bay cover of my PC.
- 2 small brass (or plastic, wood, whatever...) rods with top screws. The screws are nice, but not really needed, I took those from my office.
- You can not see it, but there are four adhesive pads on the bottom to separate it from the working surface.
Then I glued the brass rods to the metal piece. What we have now is a metal base with a clear plastic cover that can be raised. Now, what we have to do is to drill other holes anywhere you like for each rivet size desired.
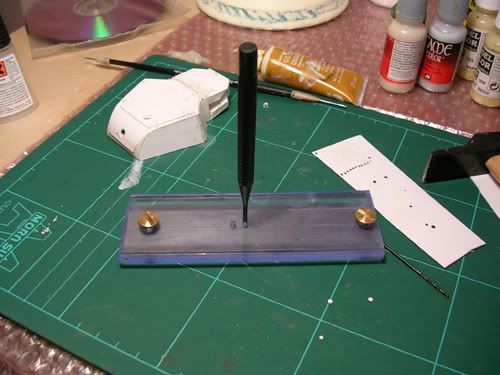 We have finished our die. To use it, slide a plasticard sheet inside, trap it with the clear lid, put a punch in its hole (as shown above) and use the hammer.
You wil probably not find punches for the smaller rivet sizes (1 mm or less). However, I found a solution in the page of a german guy (Unfortunately, that page no longer works).
He simply used the same drills used to drill the holes as punches (the flat part gets in contact with the plasticard). I have reserved some cheap or broken drills for this.
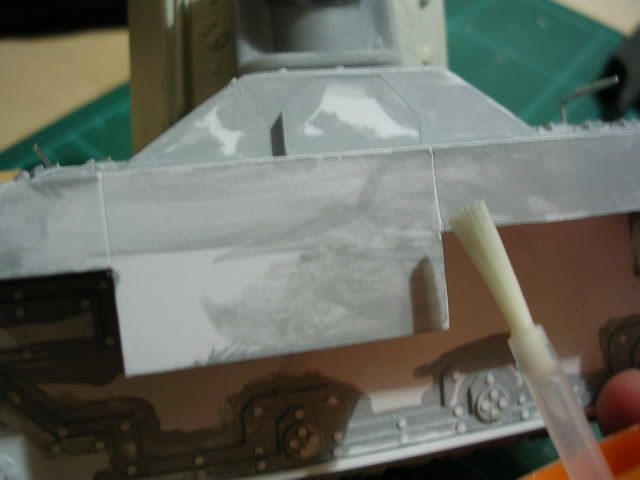
Time to start riveting our models!
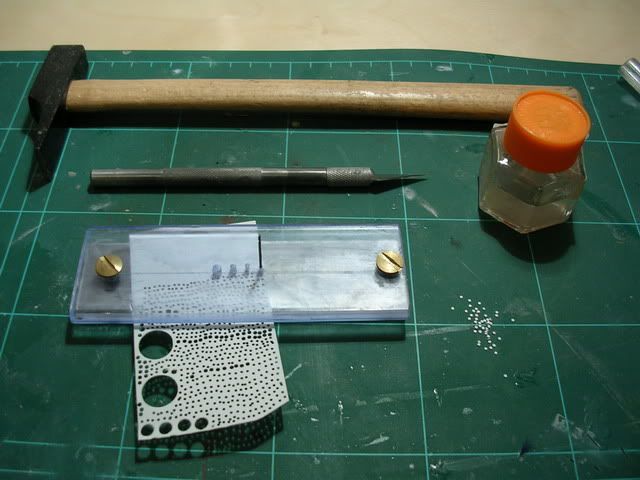
RIVETS
You well need the punch and die set, suitable punches, a small hammer, some glue, a hobby knife and a little (rather thin) plasticard.
You can see that I have made many small plasticard disks, now I will put then in place.
First, I put a small drop of glue in place.
Then I hold a rivet using the point of a hobby knife (if you use a new blade, this is much better than using tweezers, believe me) and put it in place.
 The final result:
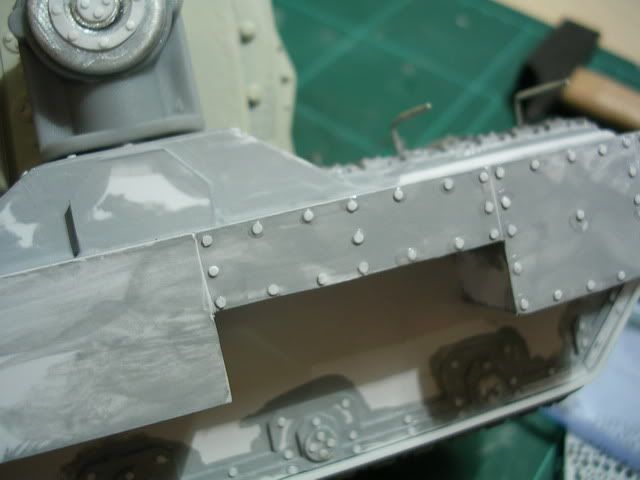
BOLTS AND NUTS
There are punch and die sets capable of making hex pieces, but for our purposes we will suppose we do not have one of them.
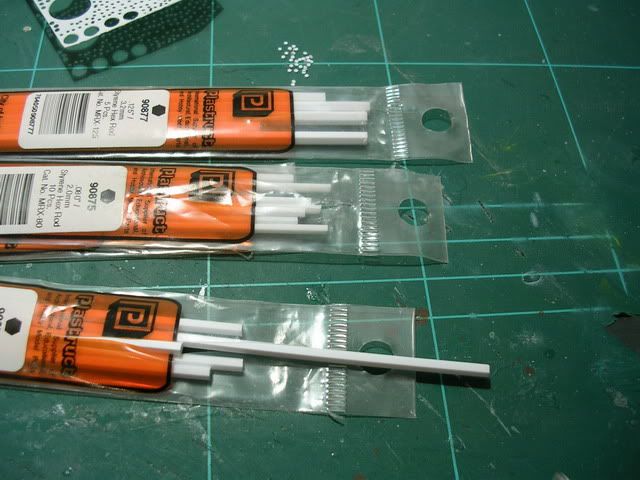
In order to do the nuts we will need hex poliestirene rods of different measurements:
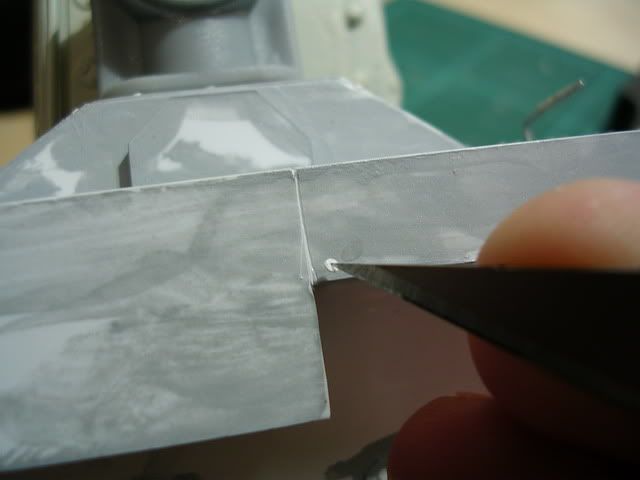
 I select the desired width and cut regular slices with my hobby knife.
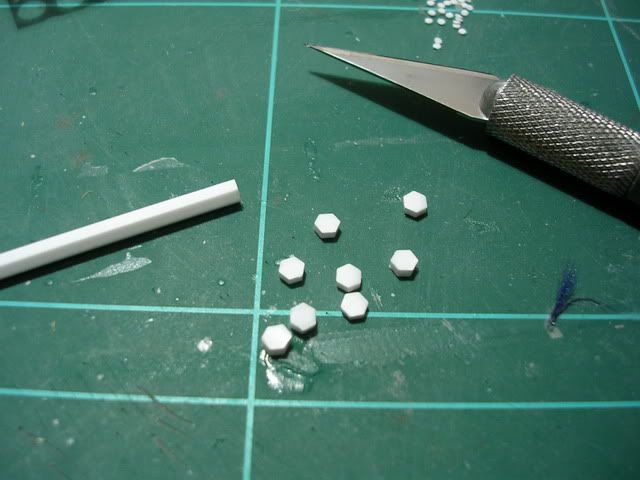 I put a drop of styrene cement in place
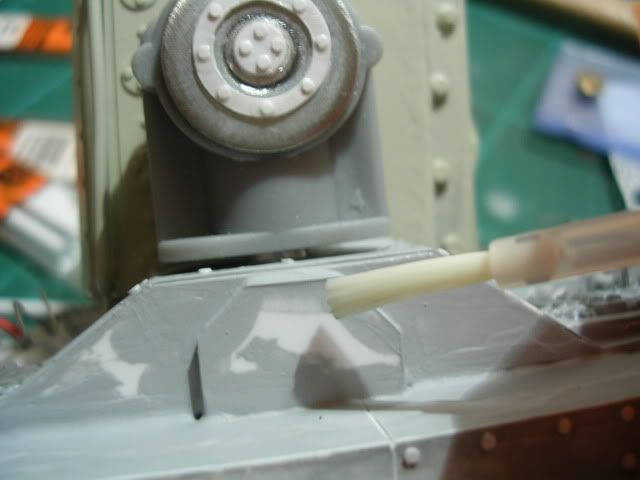 And put the bolt on.
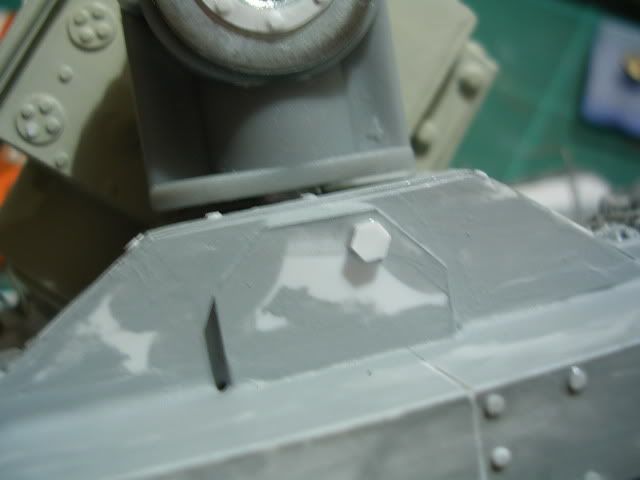 If I wanted to do a nut and bolt, I would then do some rivets, smaller than the nut I have just did.
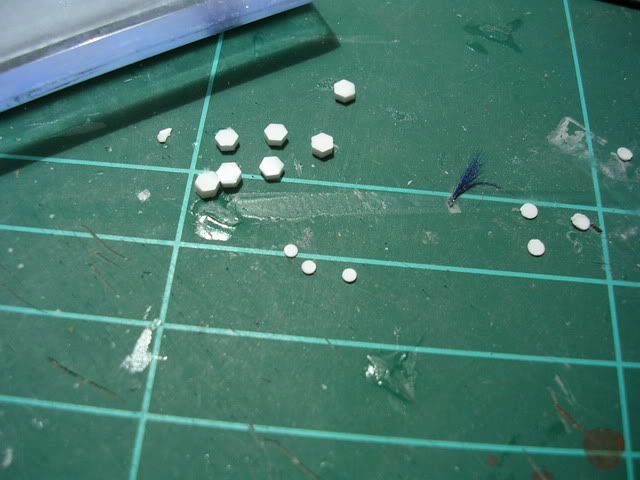 Then I put a drop of cement in place...
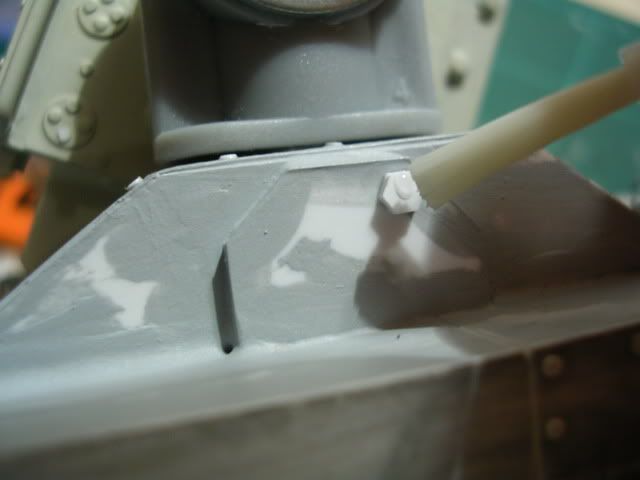 And proceed exactly as I did above with the rivets:
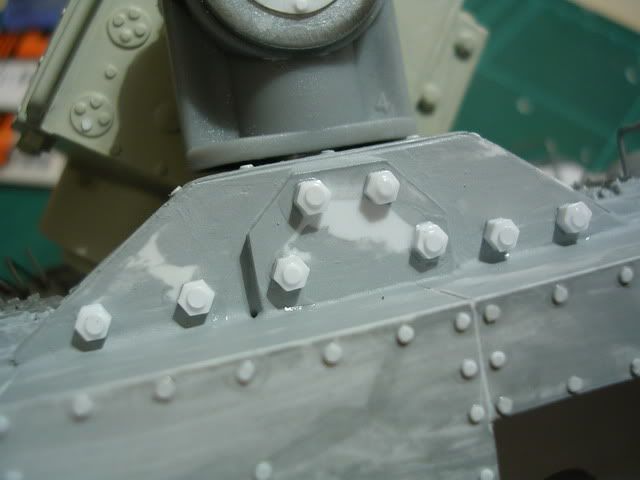 And that is. As you can see it is not very difficult, it just requires a little patience to be done. You can also use those tiny styrene disks as other things instead of rivets: coins, lids, lenses, etc.

10 comments:
Thank you for writing this, this is a really simple yet effective way to totally trick out your pieces.... well done!
Steel Castings India
It's really a good post I appriciate. Looking forward to see more on covering metal industry and other industries as well.
What a nice blog I liked it very much thanks for your creative work done by you.
Thanks a lot for sharing. You have done a brilliant job. Your article is truly relevant to my study at this moment, and I am really happy I discovered your website. However, I would like to see more details about this topic. I'm going to keep coming back here.
Thanks a lot for sharing. You have done a brilliant job. Your article is truly relevant to my study at this moment, and I am really happy I discovered your website. However, I would like to see more details about this topic. I'm going to keep coming back here.
I think that this is really interesting,I have been reeding about ti and I can say that this is one of the more important and wonderful things that I have ever read!
Hello, i would like to read more about this interesting topic.
Thanks for the nice blog. It was very useful for me. Keep sharing such ideas in the future as well. This was actually what I was looking for, and I am glad to came here! Thanks for sharing the such information with us.
such a nice post.keep it up.
Generic Viagra
I enjoyed reading it. I'm supposed to be somewhere else in a minute but I stuck to reading the story. I like the quality of your blog: D
3d animation in pakistan|creative hotshop
Post a Comment