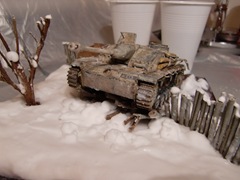
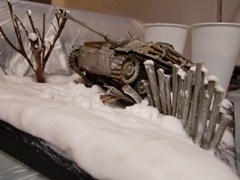
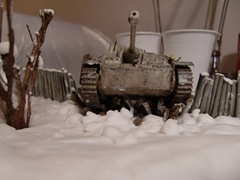
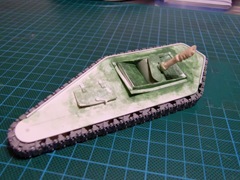
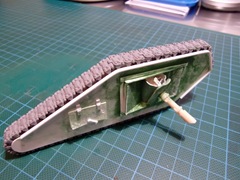
Once I finished my entry last week I noticed that I could have made a little tutorial about working with snow.
As the diorama was far from being complete, I took advantage of next stages to take some pictures (I also used my wife’s brand new camera, which is actually so complex that it only lets you to push the big button and does everything by itself).
I use the traditional snow recipe used for ages by many modelers: bicarbonate and PVA.
You will need water, PVA glue, bicarbonate and gloss acrylic varnish (I used Future here, but you can use the one you prefer).
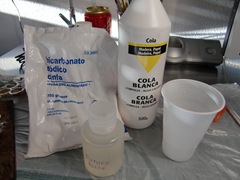
I mixed equal parts of PVA and water, added a generous quantity of gloss varnish and then added more and more bicarbonate until the mix gets a slurry consistence.
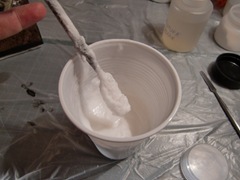
I also water down some of the original mix in another container.
Once I get the right consistency, I carefully pour the thicker mix on the diorama.
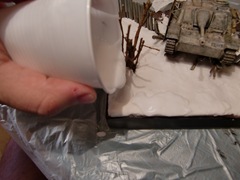 The bicarbonate mix will naturally adopt shapes similar to those formed by real snow.
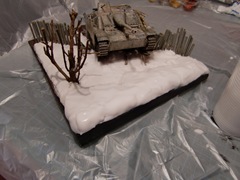
Even though, you will need to shape it with a flat tool.
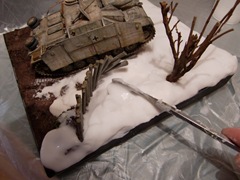
I used the watered down mix to soften the edges with a large brush.
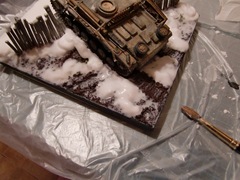
I prepared a even more watered mix –adding a bit more of gloss varnish- to represent snow and ice which got into recesses (like the thread marks on the ground).
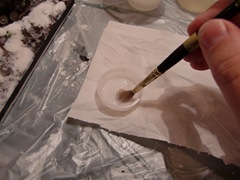
I start applying it to the tank (you need to do this in many stages, allowing the mix to dry between them in order to not overdo it).
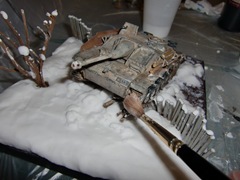
And this is the result for the moment being. As you see is quite easy to do and a lot of fun. Once it is dry, you need to seal the bicarbonate with gloss varnish. This will give it the right satin finish and seal it to avoid it to get yellow tones over time.
